We finally finished one of our most-anticipated projects — with the help of AI.
It’s been a year since we moved in. I can’t even believe it. With so much time having passed, I realized I need to be more actively working to finish some of the projects on my long list of to-dos.
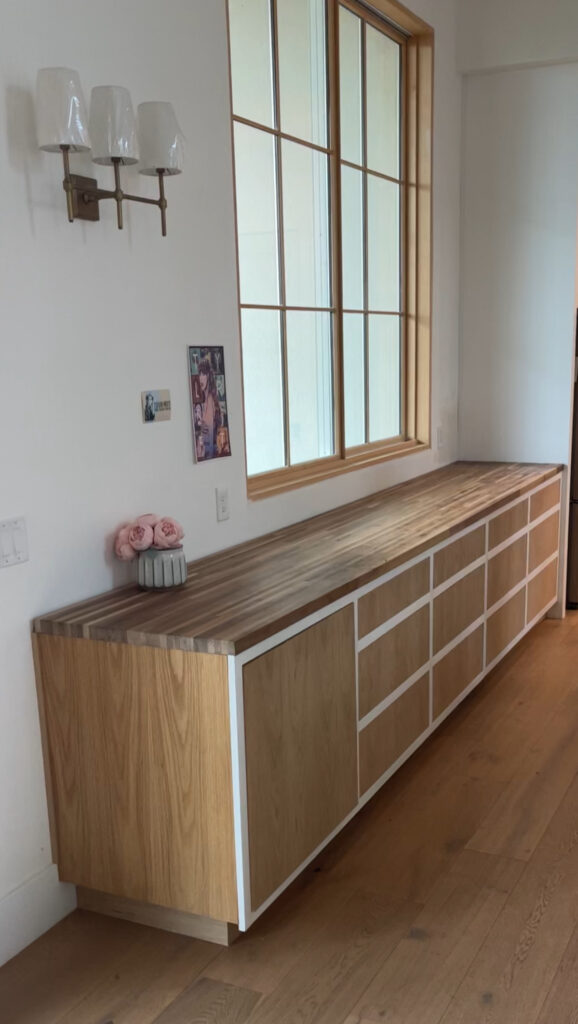
We have this area on one wall of our kitchen. We designed it to be a pass-through service area for the deck right outside — on the other side of the window. But we never had the chance to finish it. (And the deck isn’t done, either, so we were less motivated to finish this counter area.) Budgets, amiright?
But we finally got it done.
At first I was feeling lost. I’m sometimes not sure where to start with designing a space, so I have to really stress my brain in thinking of what might work well. Then I had an idea — a question: Can I use AI to design my space? Can AI do interior design?
On TikTok I had seen some very impressive spaces that were super realistic, but were obviously computer generated. I started to wonder if maybe it was AI composition producing these really cool images. Well, I looked into it and found out how to do it — and we are amazed with how awesome this process is!
So using AI to help you design your space is easy. Here is what we did–and what you can do, too:
- Identify the area or space you want to design.
- Take a picture of it.
- Combine your picture with a good AI prompt using one of the AI image-generating tools. (pro tip: you can even use more than one picture, which might include inspiration from Pinterest or Insta.)
- Refine and tweak your prompt until the AI gives you something you’re in love with. We love how this just blew our imagination out of the water. Like, WOW!
- Use that picture as your plan and rendering — stick to it, and it won’t lead you astray.
Here is the before picture of our project:
And here are some pictures we got from AI:
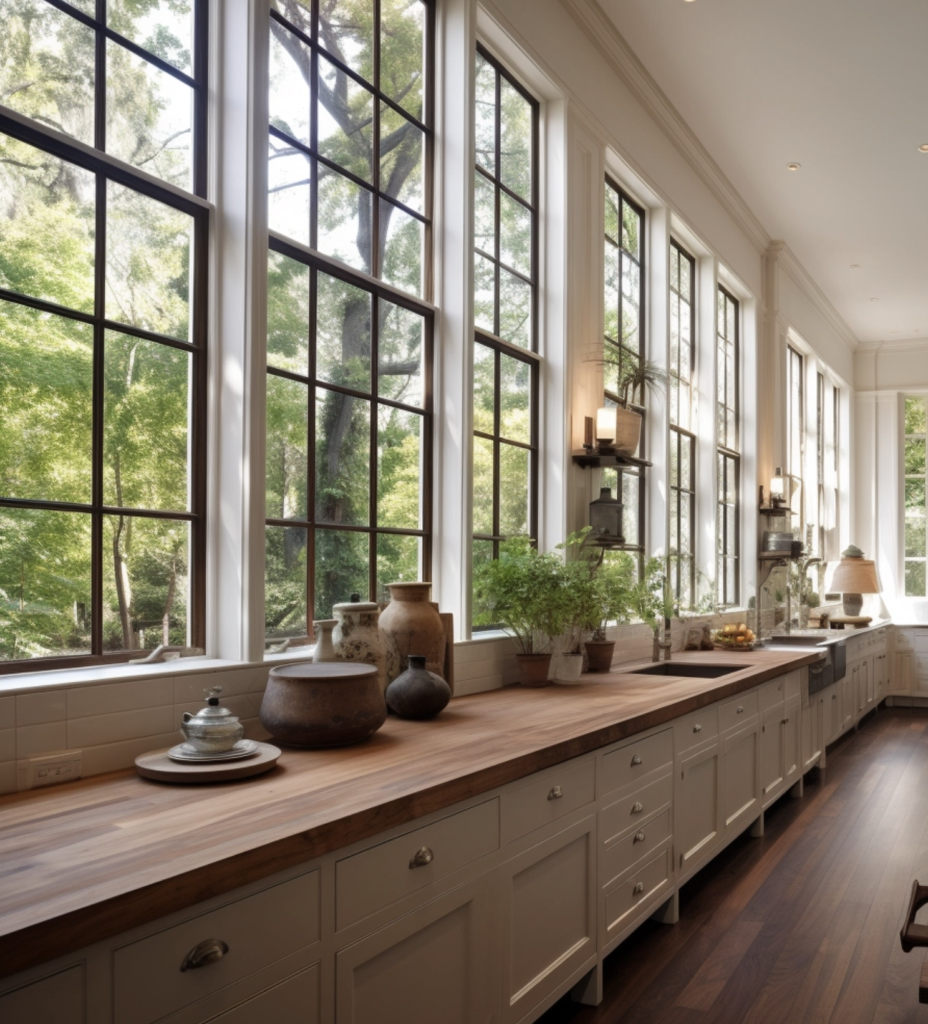
I love the plants and the pots on the countertop here.
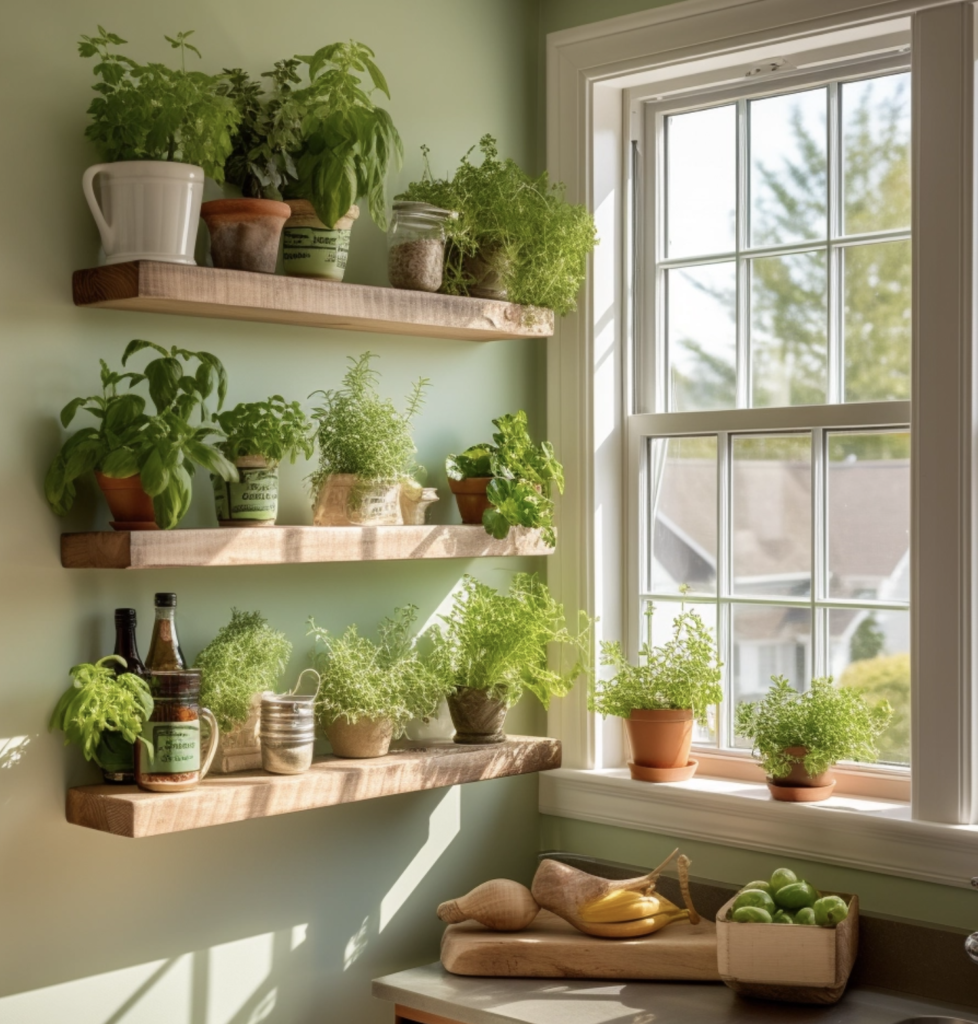
When I saw this picture I gasped because I was so stumped about what to do on this wall!! This I feel like changed the entire project!
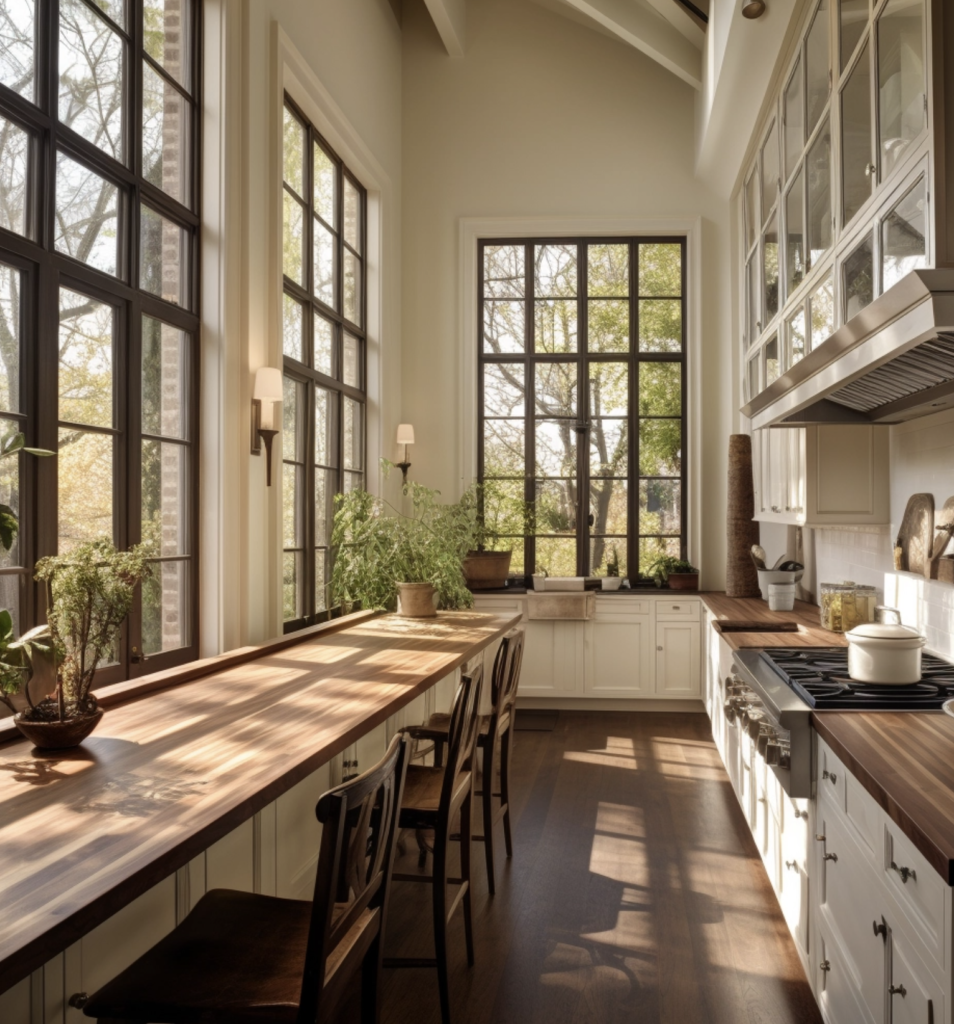
When I saw the light coming through the windows, here, I remembered that I forgot to add “drapes” to my prompt. So i added it and got some pictures like these:
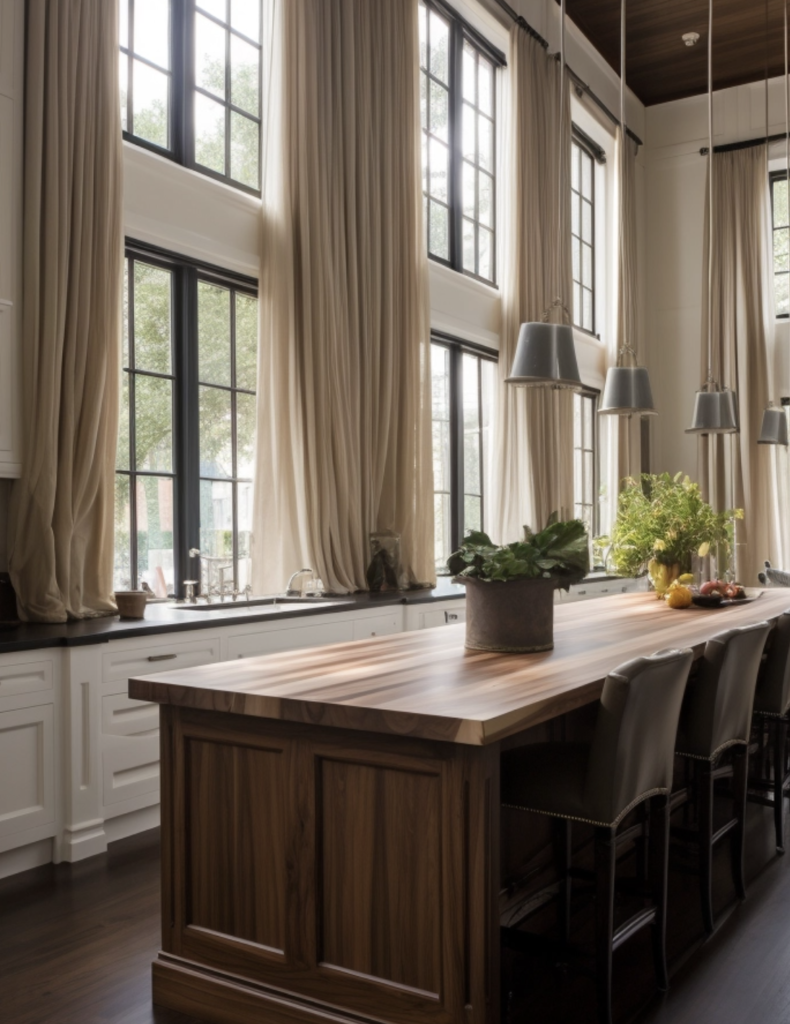
I love love love the drapes on the countertop. So I added that to my list and I’m so glad I did!
Based on these AI pictures, I feel like we had a clear checklist of to-dos.
Here is a list of what we needed to work on for this project:
- Refinish the walnut countertop
- Add finish to the raw-wood drawers
- Add hardware to the drawers
- Install window covering for the window
- Shelves for the blank wall
- Decor
Altogether the project took about a week super-part-time, and the result is so satisfying.
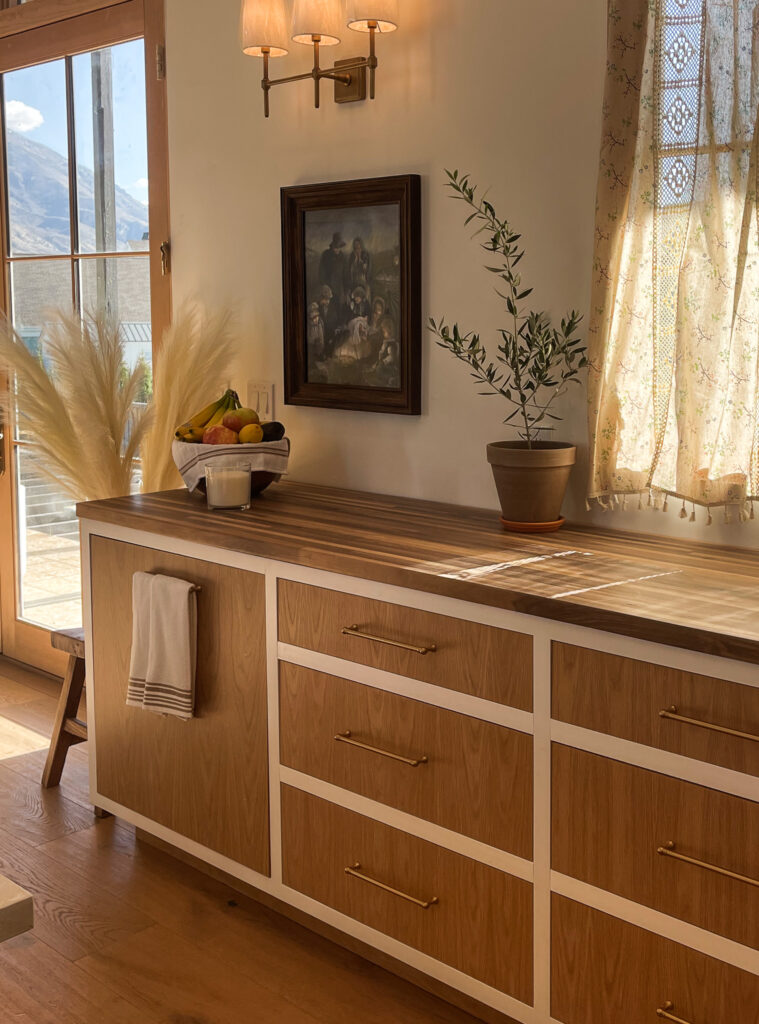
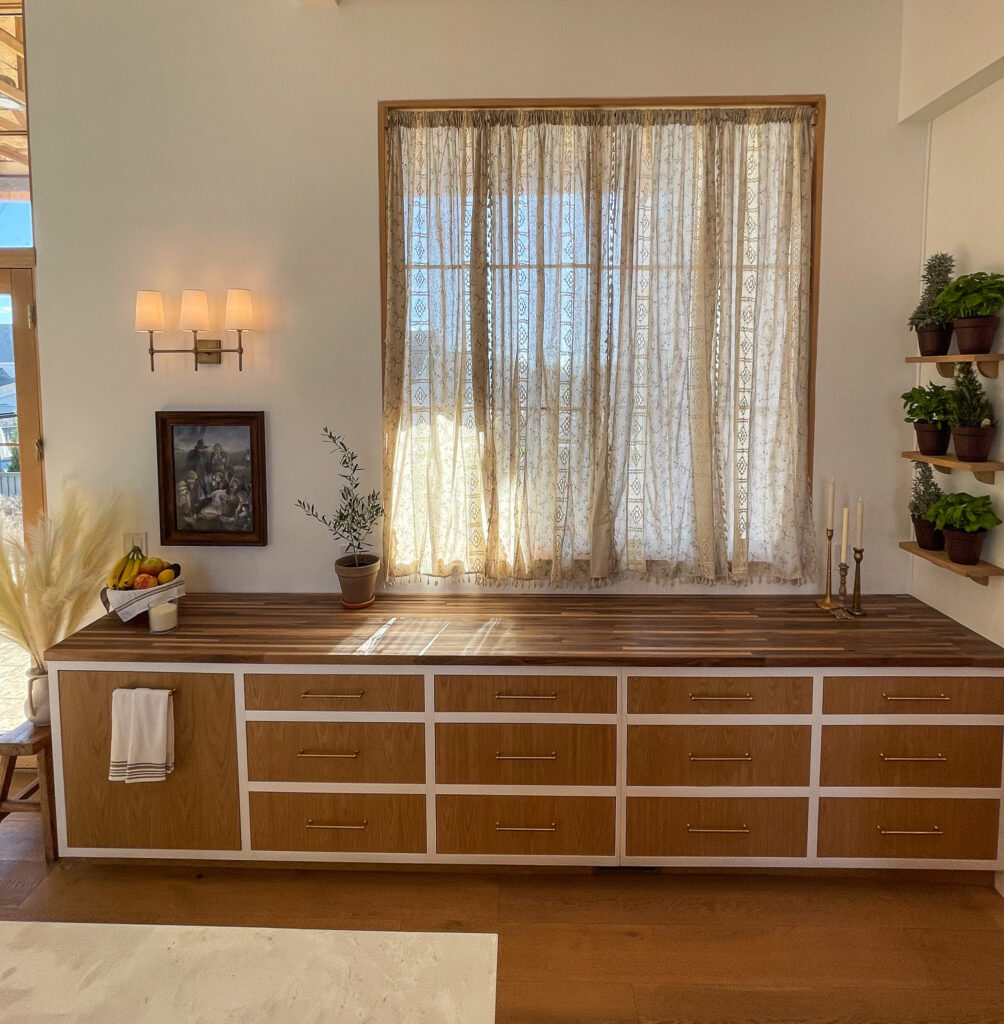
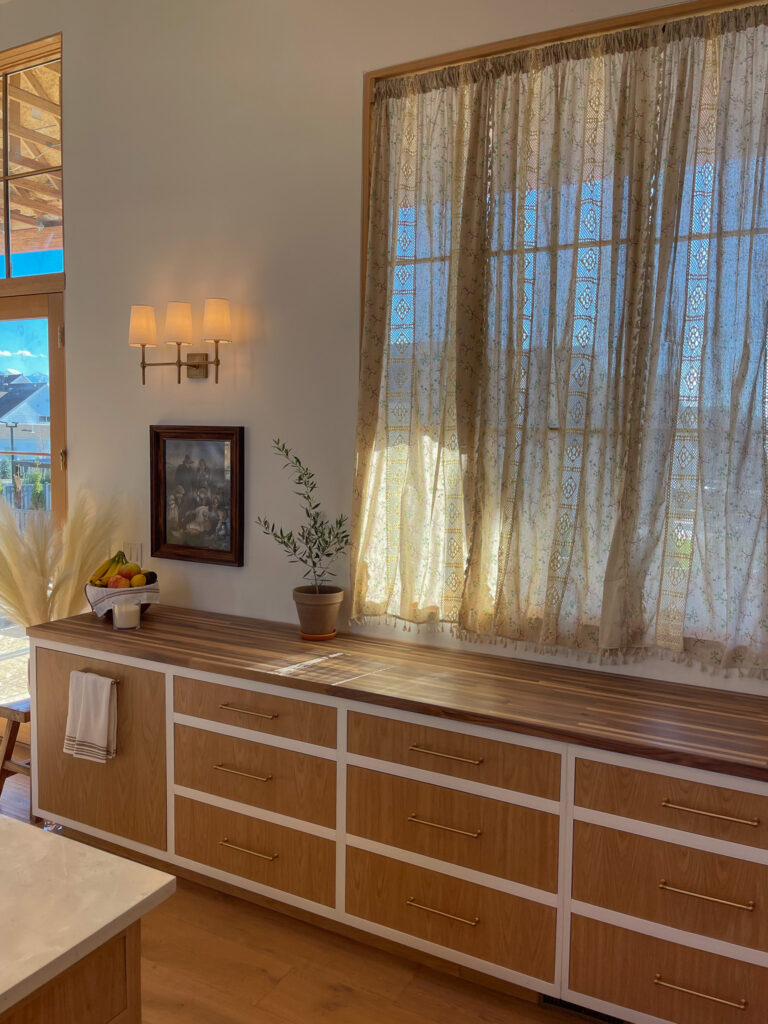
Anyway, I hope you like the process!
It’s still so new to us and we already have out next project lined up and can’t wait to share that with you!
